
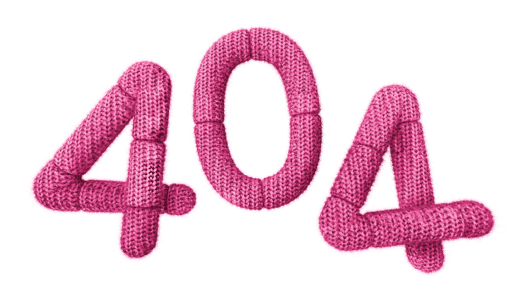
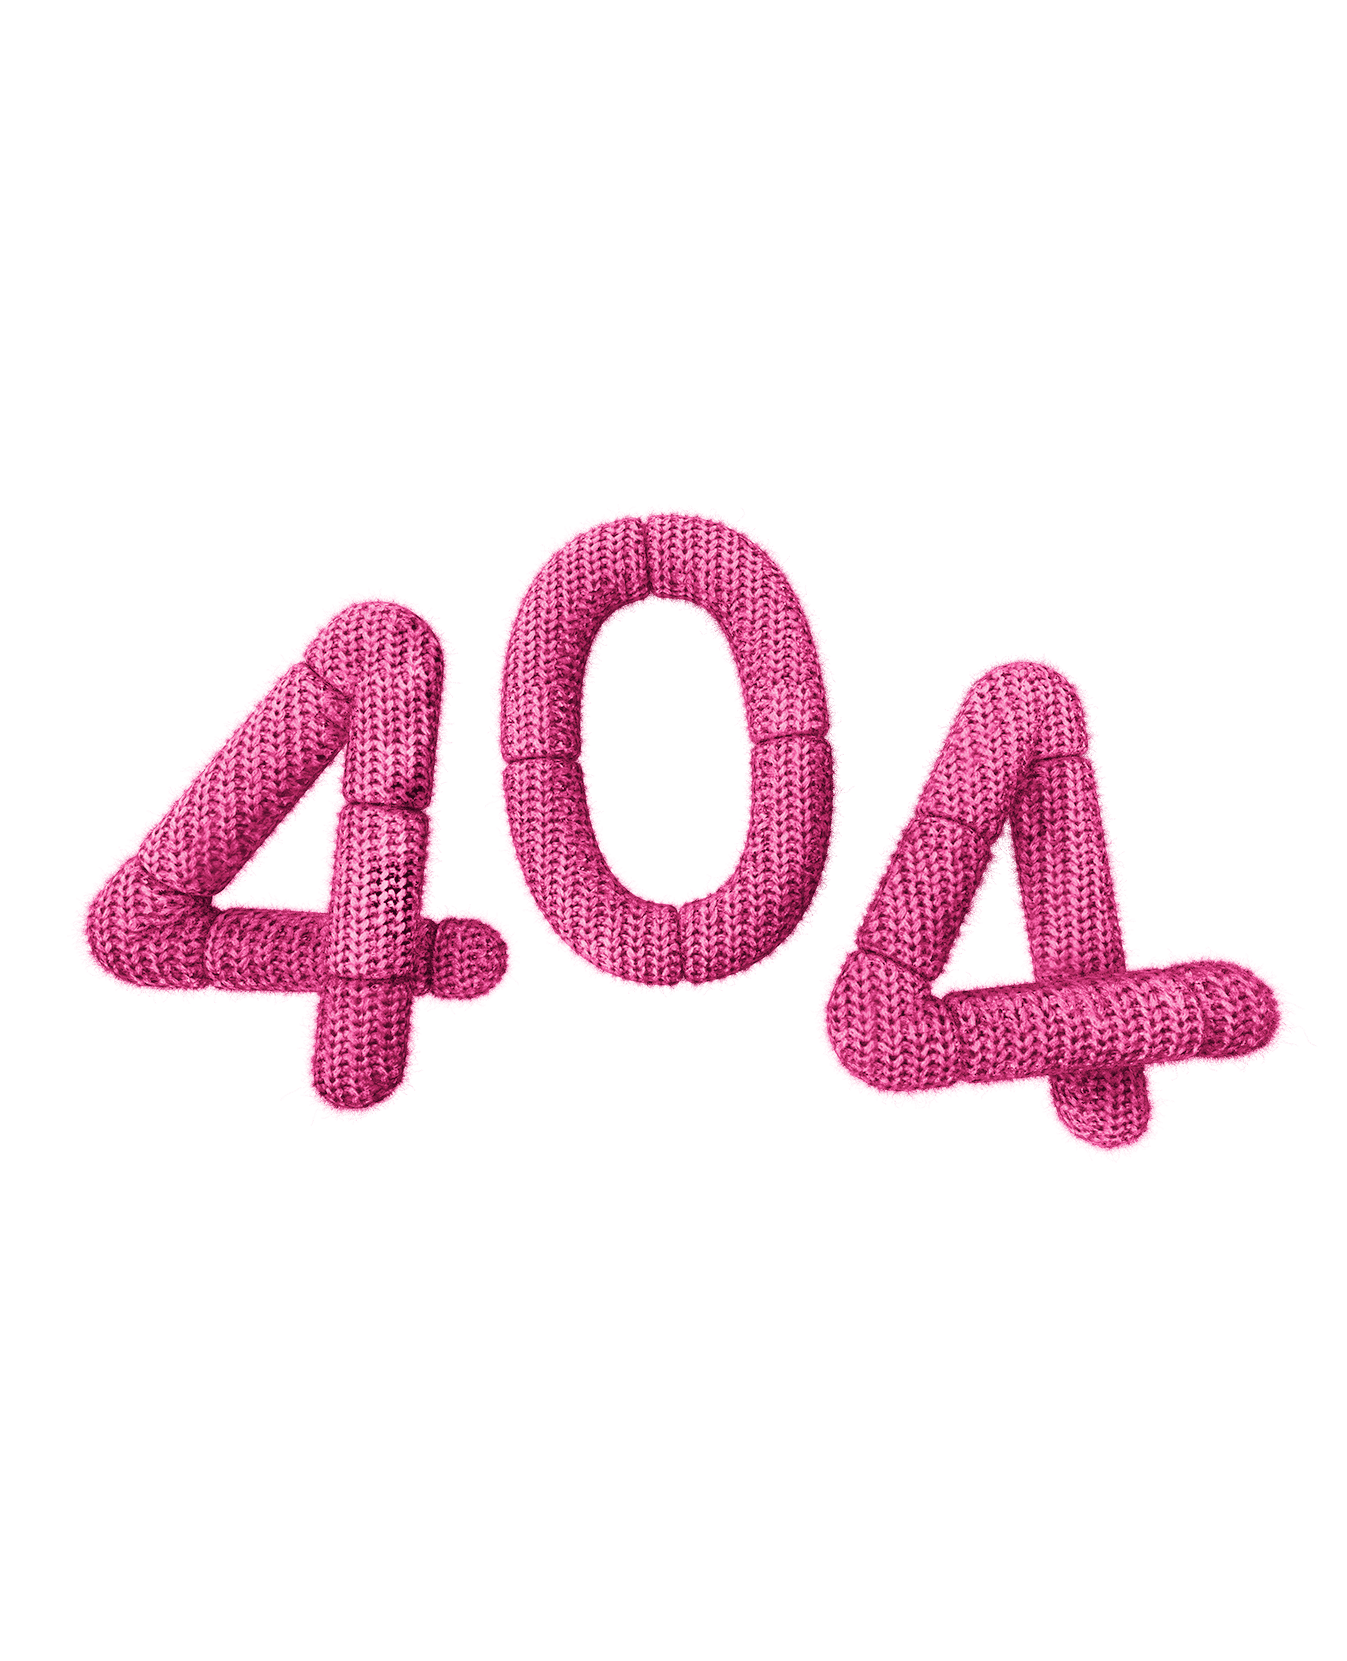
404
Lieber einen Link als eine Masche verlieren.
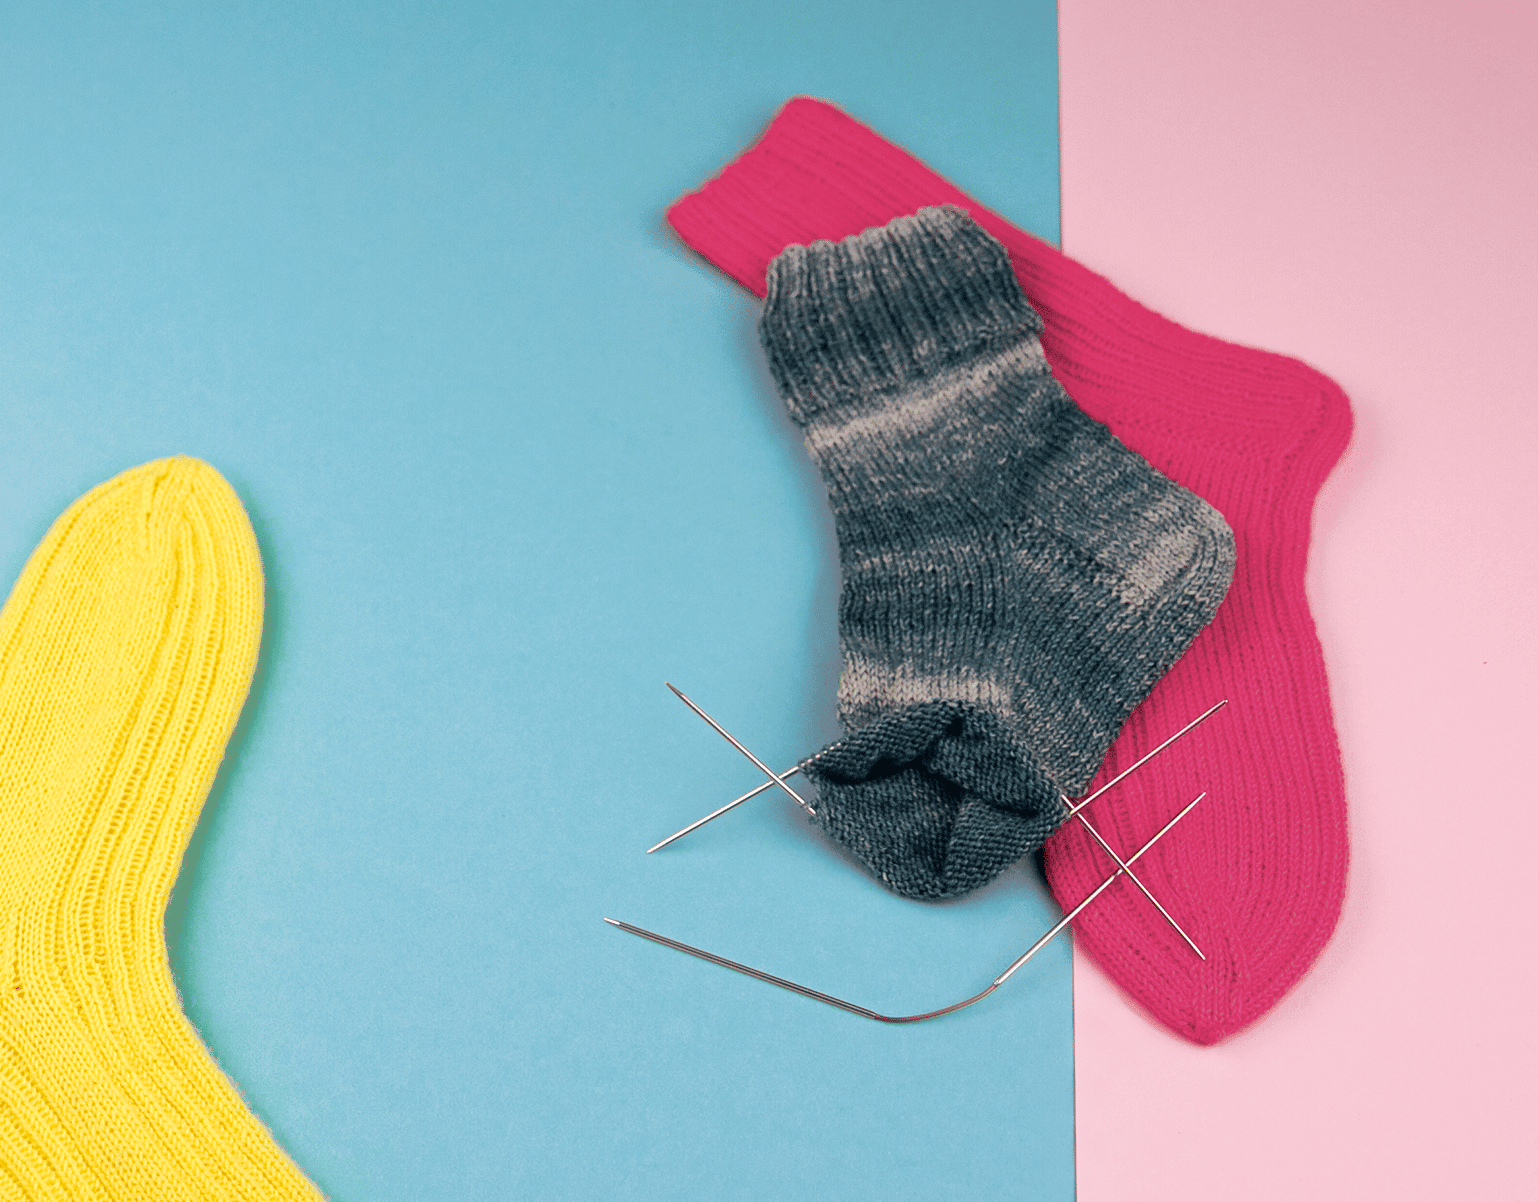
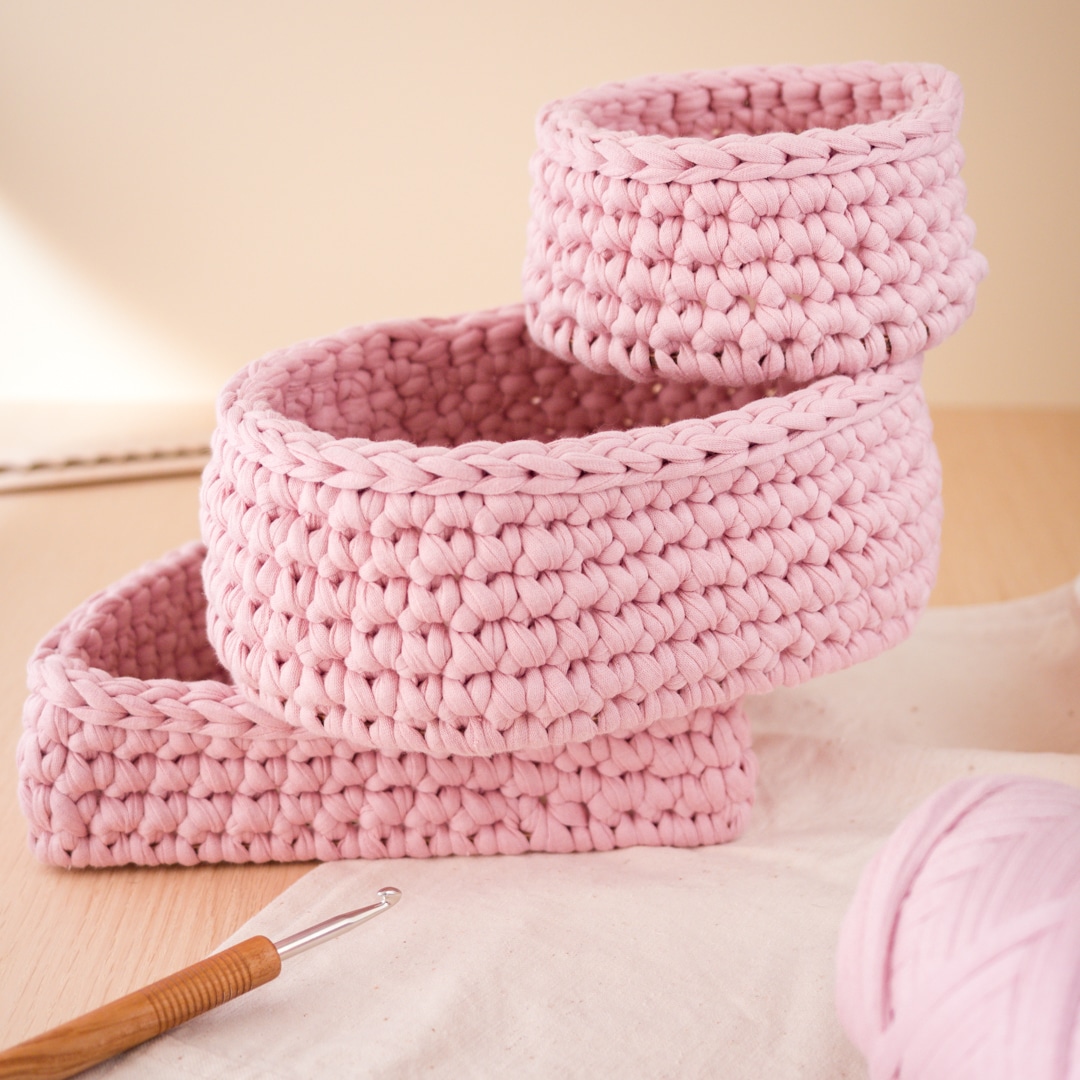
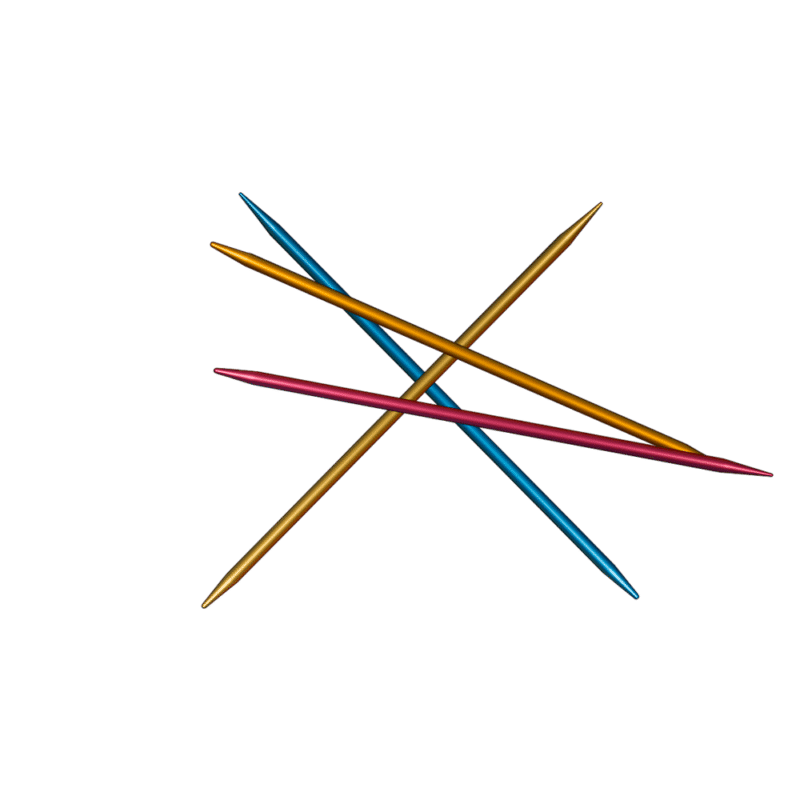
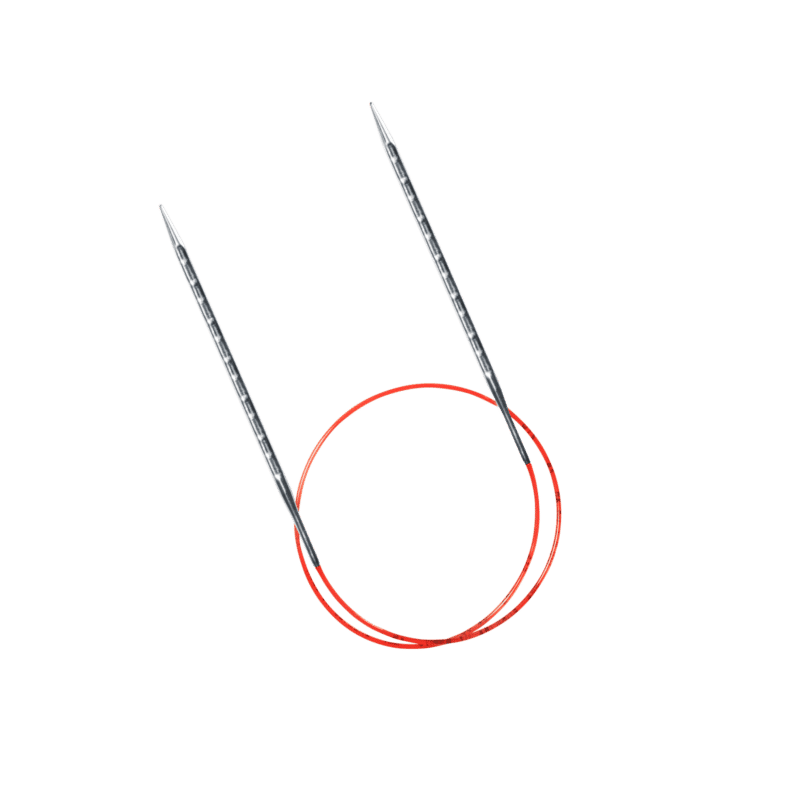
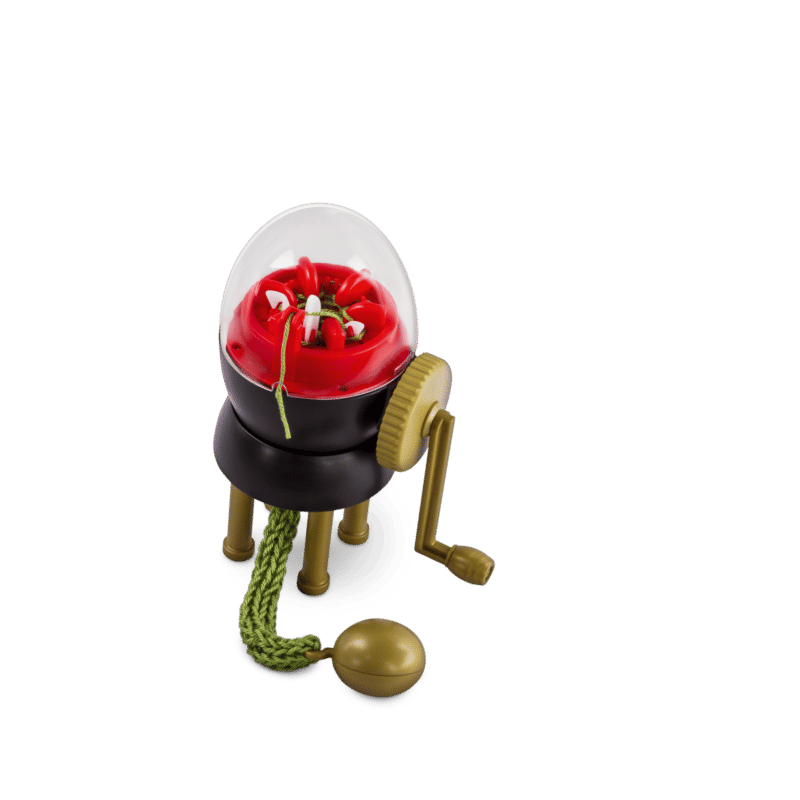
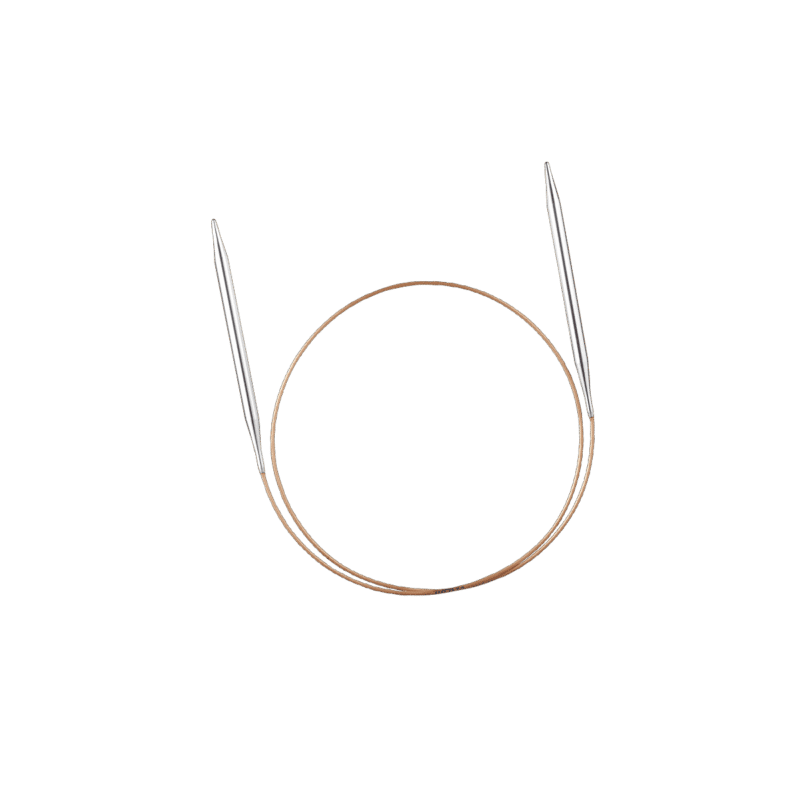
Lassen Sie sich inspirieren
404
Lieber einen Link als eine Masche verlieren.


Lassen Sie sich inspirieren

Wir haben so viele schöne Seiten und Sie landen hier? Da müssen wir was tun.
Wie wäre es mit eine paar Inspirationen rund um die addi Welt oder brauchen Sie eine bestimmte Strickanleitung? Wir haben zwar keine 404 davon, aber wir arbeiten dran.
Wir haben so viele schöne Seiten und Sie landen hier? Da müssen wir was tun.
Wie wäre es mit eine paar Inspirationen rund um die addi Welt oder brauchen Sie eine bestimmte Strickanleitung? Wir haben zwar keine 404 davon, aber wir arbeiten dran.